The Data Sampling panel is used to record signals from PowerLab data acquisition units.
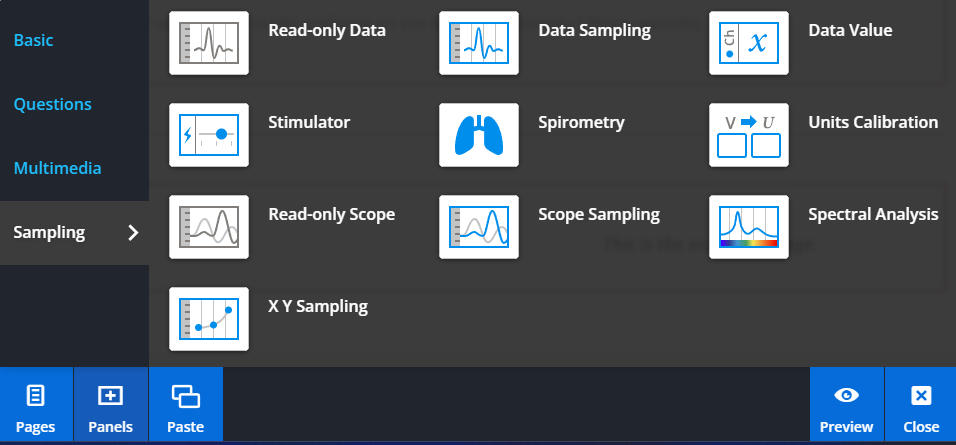
The Data Sampling panel can be found by selecting PANELS from the footer, then selecting Sampling.
Drag and drop the Data Sampling panel to wherever you like on the lesson page. Just like any other panel, a blue line will indicate where your panel will line up. You can easily rearrange panels if you’re not happy with the layout.
Select Edit and add the Lab Chart settings file (.adiset) you wish to use. You can also drag and drop a LabChart settings file directly onto the lesson page, and a Data Sampling panel will be created automatically.
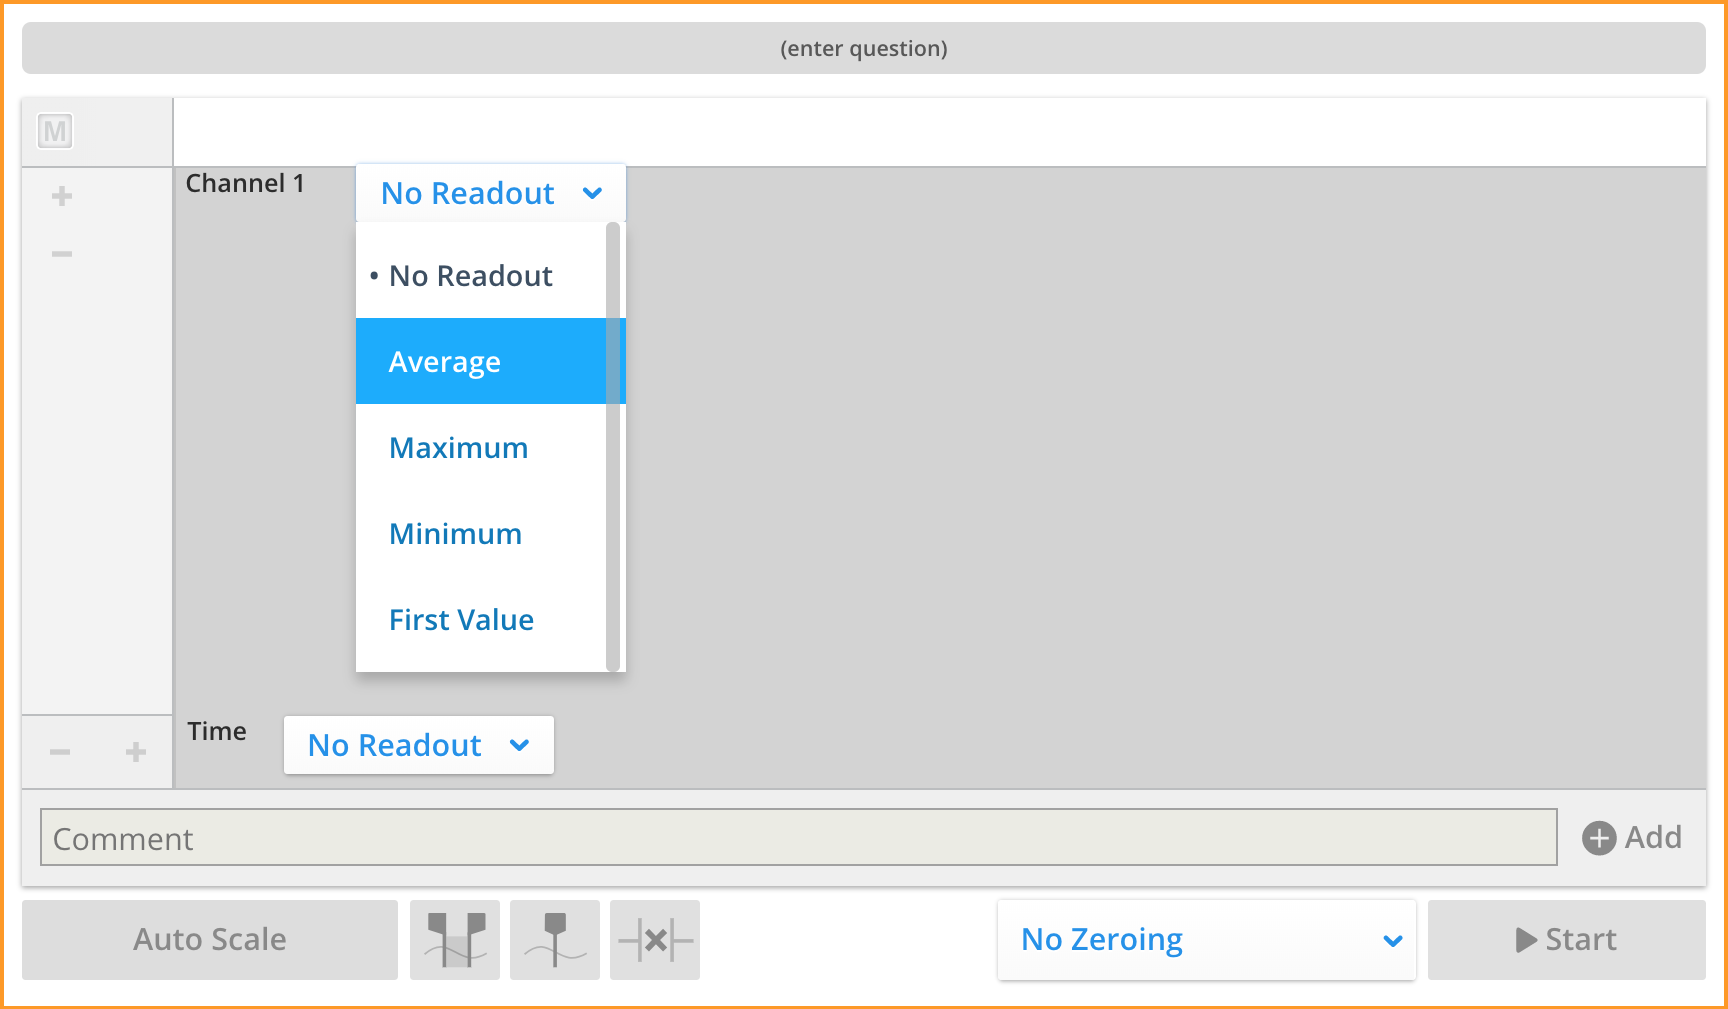
While editing the panel, you can use the drop-down menus to turn on Channel and Time value readouts that will display while sampling.
To facilitate communication between the Data Sampling panel and the PowerLab, the kuraCloud Desktop Application (kCDA) must be installed. With kCDA installed, simply select Start to watch data stream into the panel.
Configuring Example Data
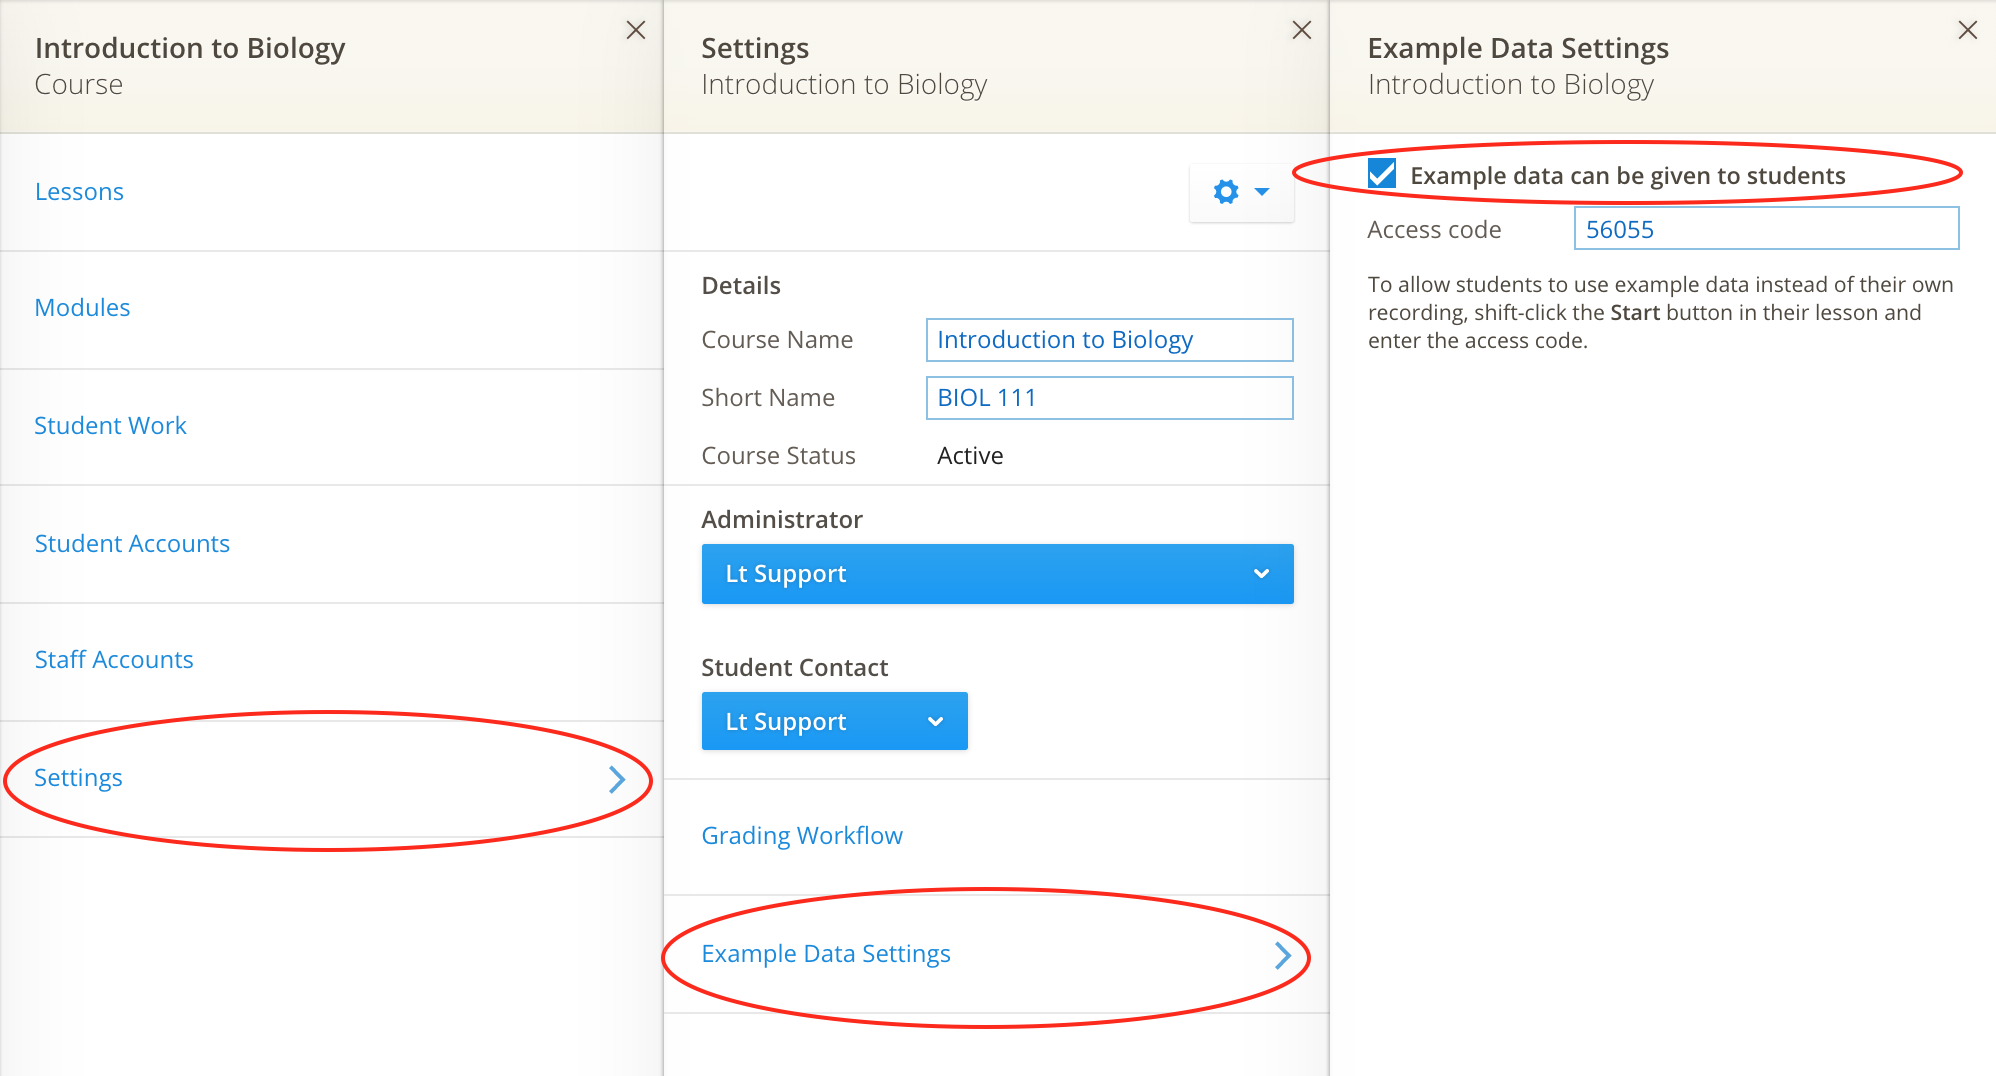
To add a model answer or example data for students, choose an assessment option, select Set Answer, then select Add Data or drag and drop a LabChart Data File (.adicht) onto the panel. Students will be able to see the example data by selecting the panel's Check Answer button. If you prefer the example data to be password protected, set the assessment option to None and configure the Example Data settings in the Administration pages, as shown in the image below. Open course Settings, select Example Data Settings, and ensure the "Example data can be given to students" box is checked. A numeric access code is automatically generated, but this can be edited at any time. Read more detailed information about configuring example data here.
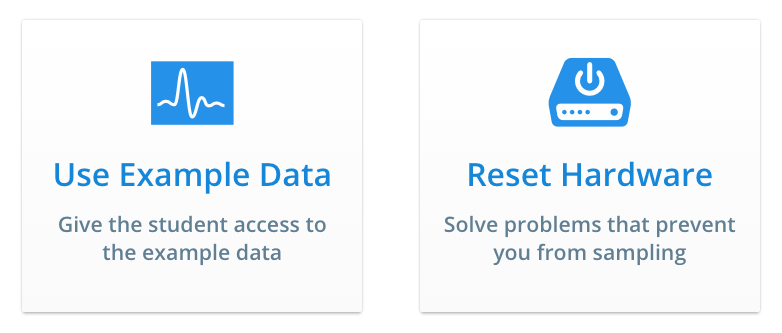
While using Lt, students can shift-click on the Data Sampling panel's Start button and select Use Example Data from the popup dialog:
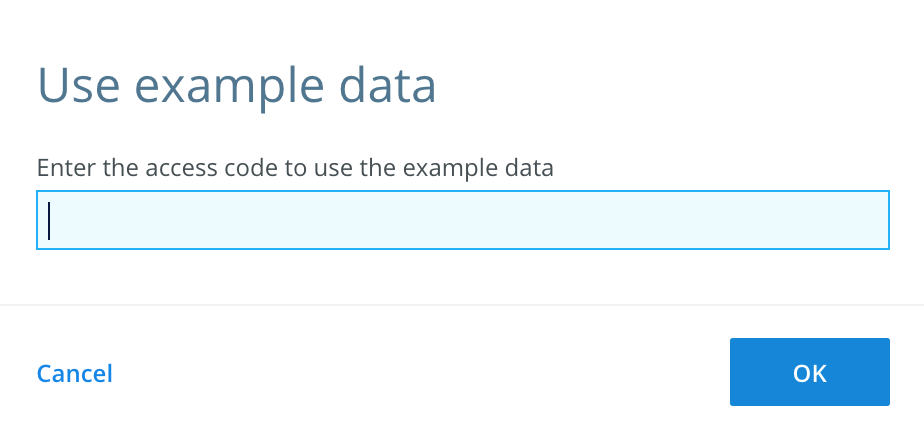
Finally, students are prompted to enter the access code to view the example data. Educators or teaching assistants are responsible for letting students know the access code.
Once finished with viewing the example data, students can return to their own data by shift-clicking the Data Panel's Start button, selecting Use Student's Data, and re-entering the access code.