The Upload and Annotate Image panel enables students to annotate images that you provide for them, or upload their own images. It makes learning very personalized and is a great option for visual learners.
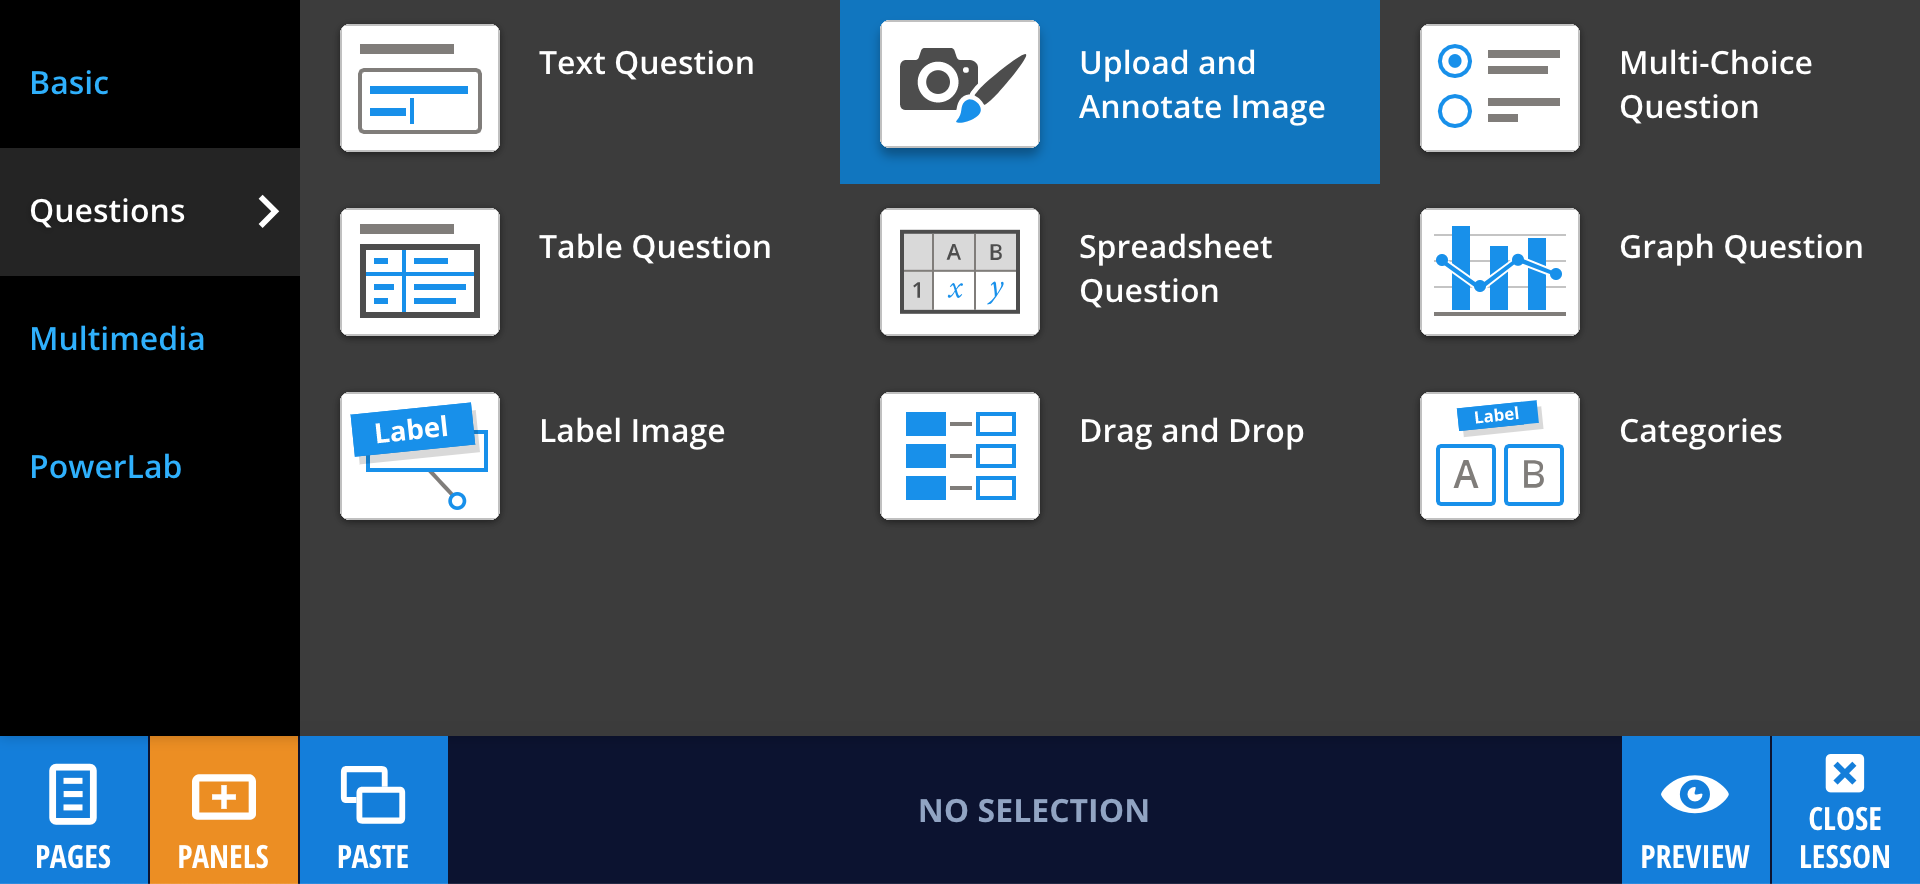
To add an Upload and Annotate Image panel, select PANELS from the footer, then select Questions.
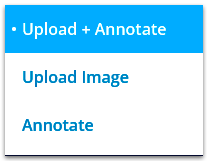
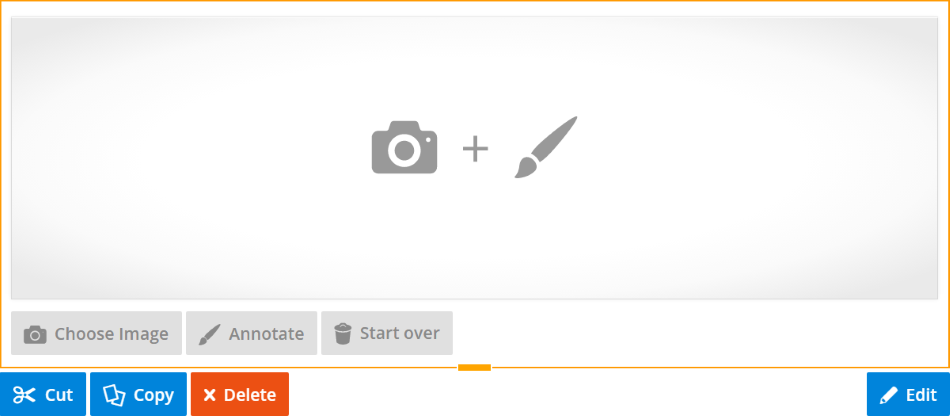
As an author, this panel provides you with three options:
- Upload + Annotate allows the students to upload and annotate their own image.
- Upload Image allows students to upload an image they've taken themselves.
- Annotate allows you to upload an image for the students to annotate.
These three options are available from the Style menu of the Upload and Annotate Image panel properties in the footer.
Upload Image
If you'd like a student to upload their own image, select Upload Image from the Style menu. A blank image panel will appear. You can add instructions by selecting Edit and typing in the (enter question) section.
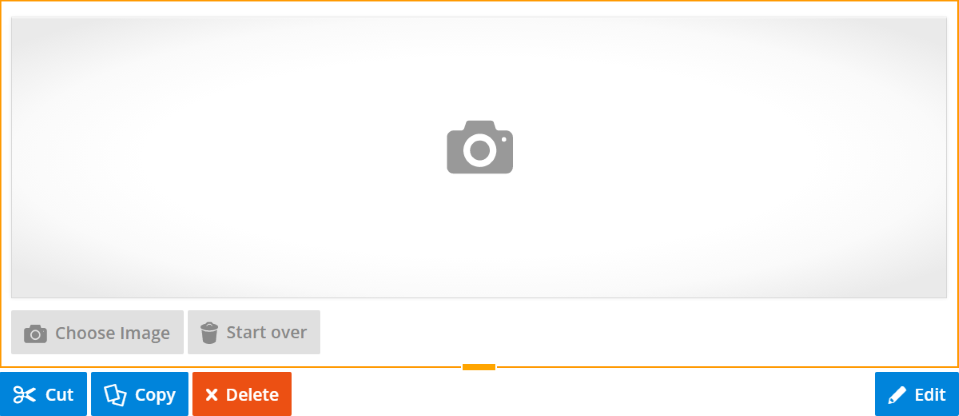
To provide a model answer, first select an assessment option and then Set Answer from the panel's editing menu. You can now drag an image onto the panel or select Choose Image to insert a model answer. Additionally, you can enter feedback or provide extra information for the students in the (Enter feedback for students here) section below the image. Change Image lets you change your model answer image, and you can start over by selecting Clear Answer. Once you're happy with your answer, select OK.
Annotate panel
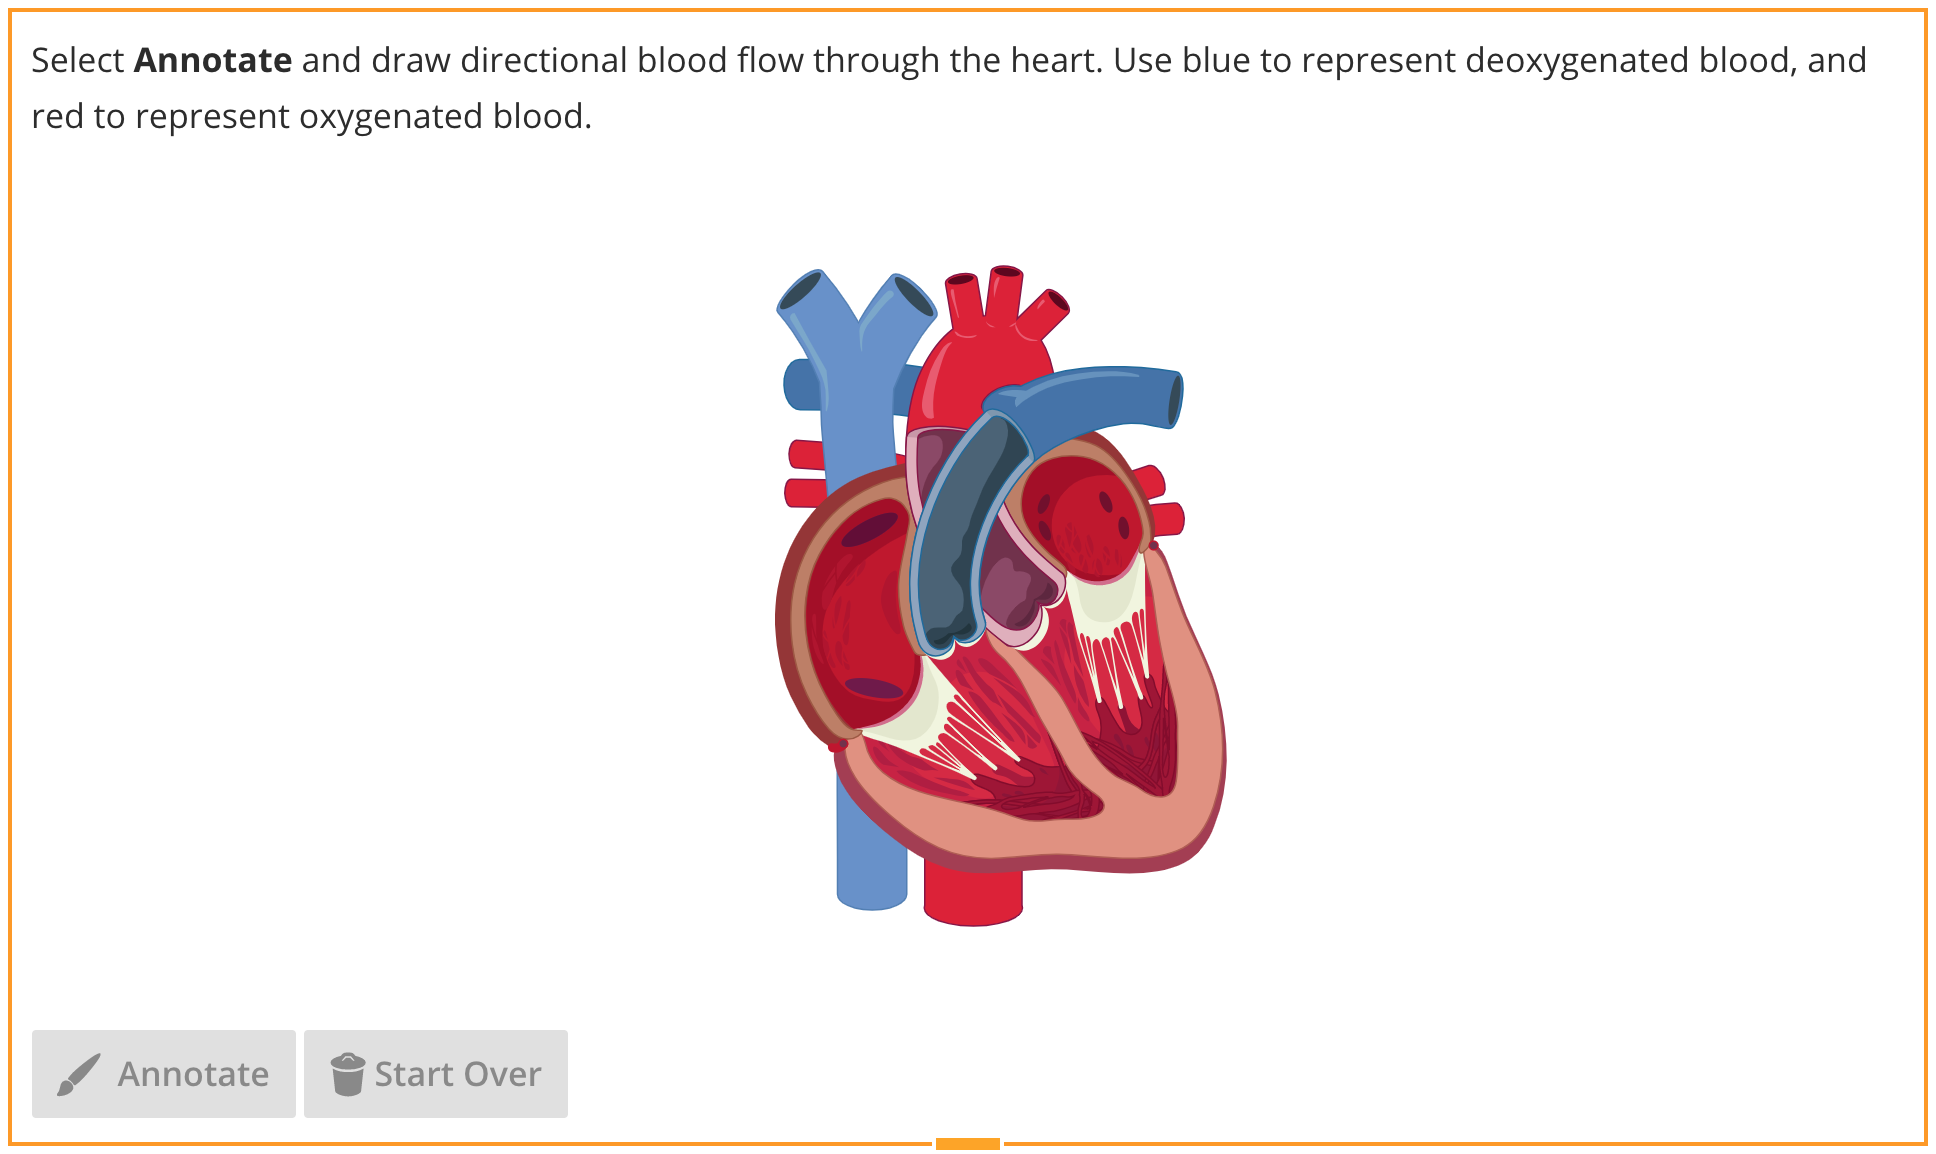
The annotate panel allows you to upload an image for the student to annotate. For example, a graph could be added for the students to label various aspects of the graph, or an anatomical image could be added for the students to label certain structures.
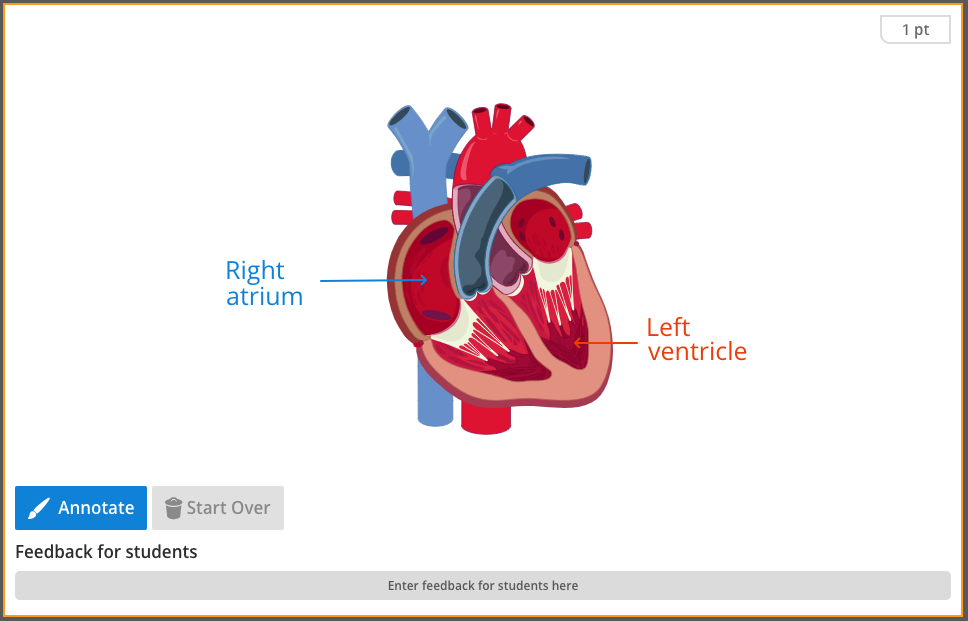
To use this panel, select Annotate from the style menu of the panel properties. A blank image panel will appear. To add an image, either drag and drop a file from your computer, or select Add Image from the panel properties.

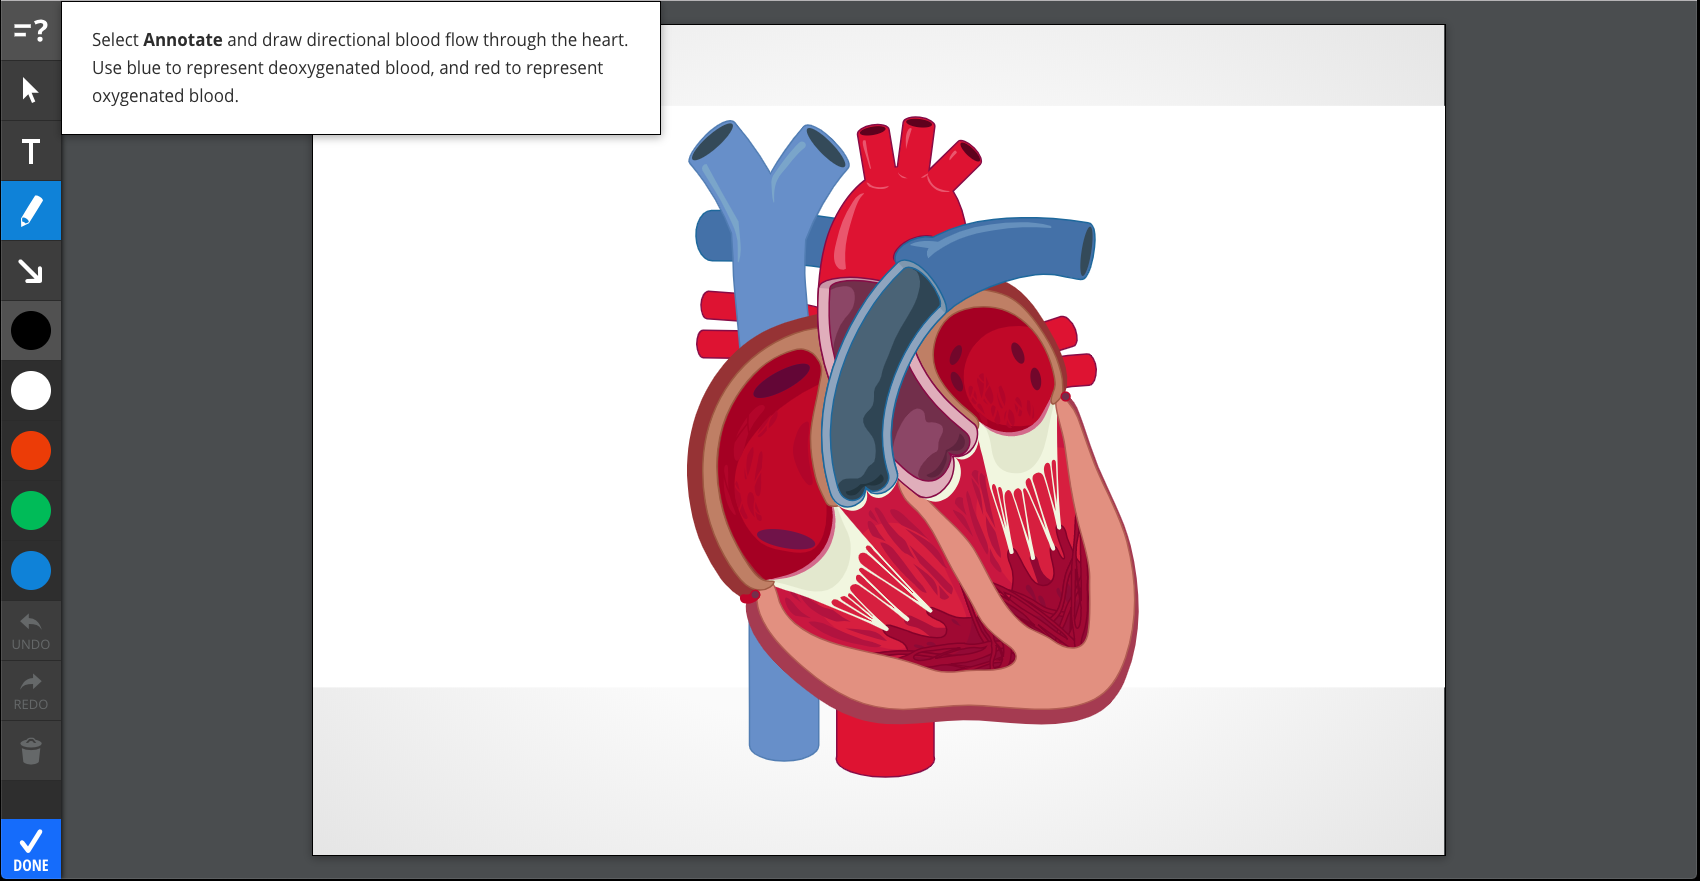
Add instructions or a question to the (enter question) box located at the top of the Annotate panel. For example:
You can provide feedback to your students by adding a model answer. Select an assessment option, then Set Answer. You can annotate the image yourself by selecting Annotate, or drag and drop an image onto the panel.
The annotation tools available to you (and your students) include a text tool, a drawing tool, an arrow, and a selection tool, all provided on the left hand side of the panel. All annotations can be modified using the color palette.
Once you are happy with your model answer select OK. You can alter the model answer at any time by selecting Edit Answer, then Draw or Clear Answer (if you want to start your model answer from scratch). You can download the image by selecting  in the footer, and add copyright information to the image by selecting
  .
.
Once you have finished editing your panel, select Done to finish.
Upload and Annotate Image
If you'd like your students to be able to upload and annotate their own image, select Upload + Annotate from the style menu of the panel properties. A blank image panel will appear.
While in Edit mode, you can add instructions or a question to the (enter question) box located at the top of the panel. To provide a model answer for the student, choose an assessment option, then select Set Answer.
Select Choose Image to insert a model answer. In the feedback area beneath the image you can add extra information to guide your student's learning. Select Annotate to annotate your model answer (see above). If you want to change the model answer image, select Change Image. To clear your model answer, select Clear Answer. Once your model answer is correct, select OK. Then select Done.