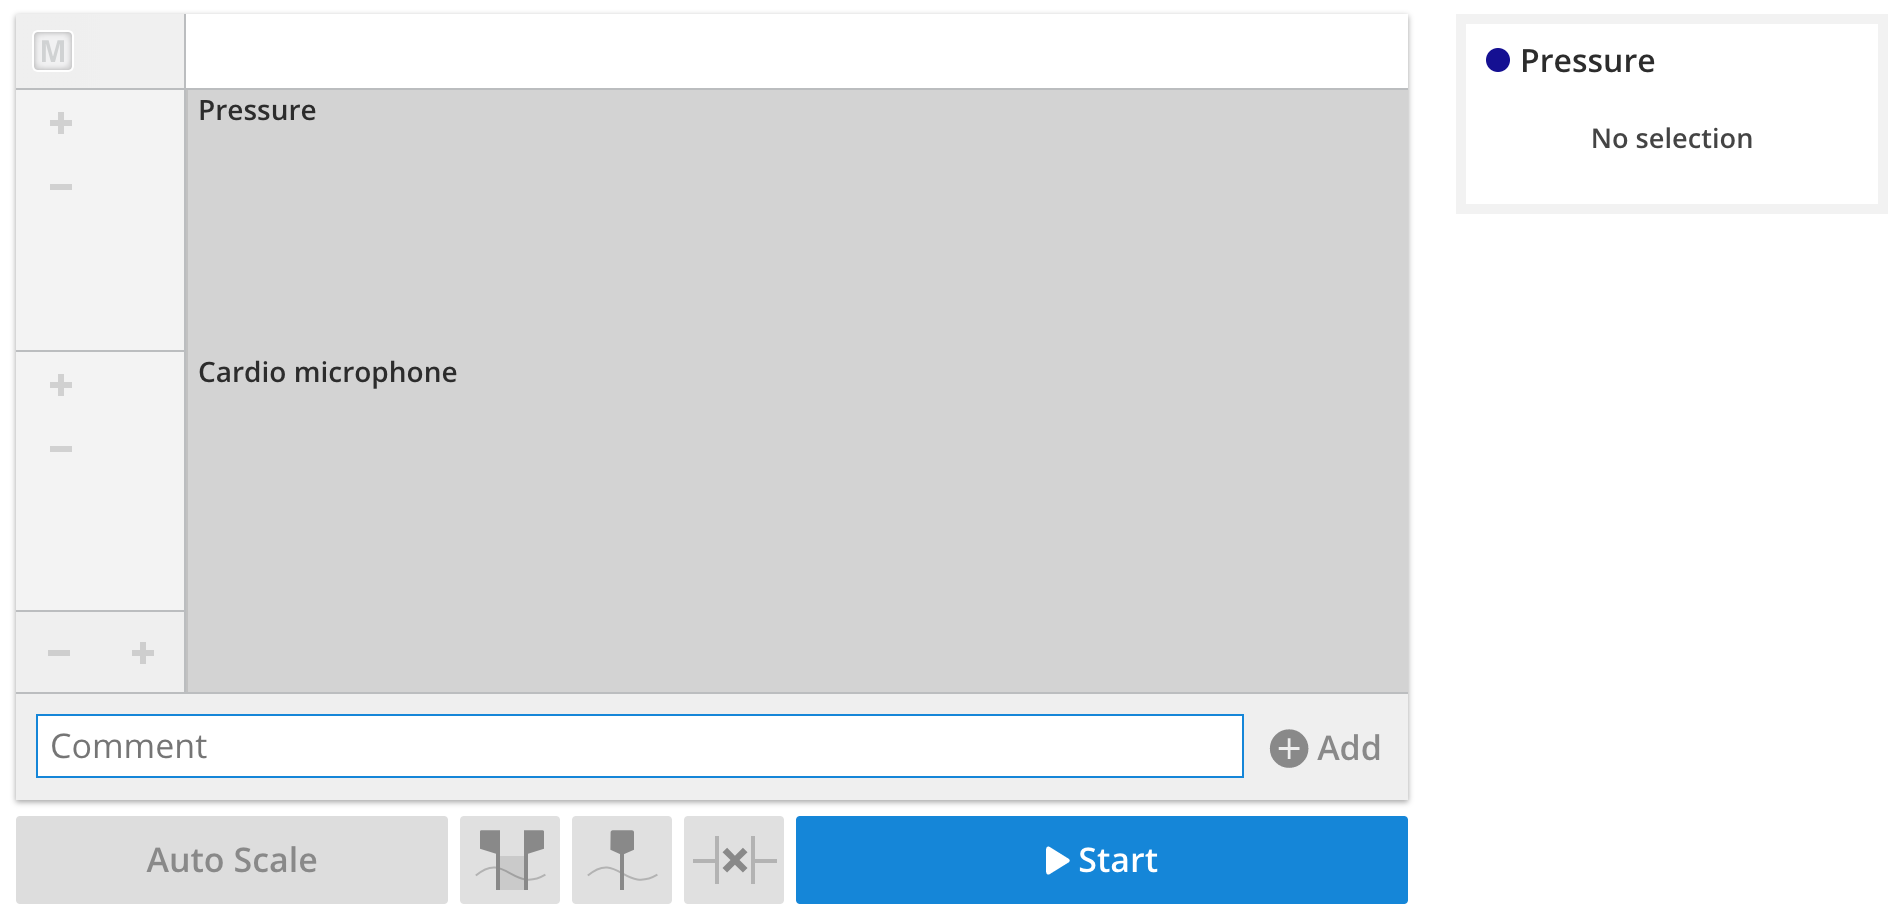
The Blood pressure and cardio microphone preset settings can be used with a blood pressure cuff which has an inbuilt pressure transducer and a cardio microphone to record a volunteer's blood pressure using the PowerLab.
Exercises you can do with these settings
- Use the cardio microphone to record arterial sound while deflating the blood pressure cuff. The first and last Korotkoff sounds indicate systolic and diastolic arterial blood pressures, respectively.
- Investigate the effect of deflating the cuff at different rates on accuracy of blood pressure measurements.
- Compare the measurement of blood pressure in the arm using cuffs of various sizes.
- Examine how the position of the arm affects the blood pressure. Compare:
- Arm hanging down loosely by the side
- Arm held straight above the head
- Arm at head level.
The following instructions may be useful for you to copy and paste for your students:
Equipment setup procedure
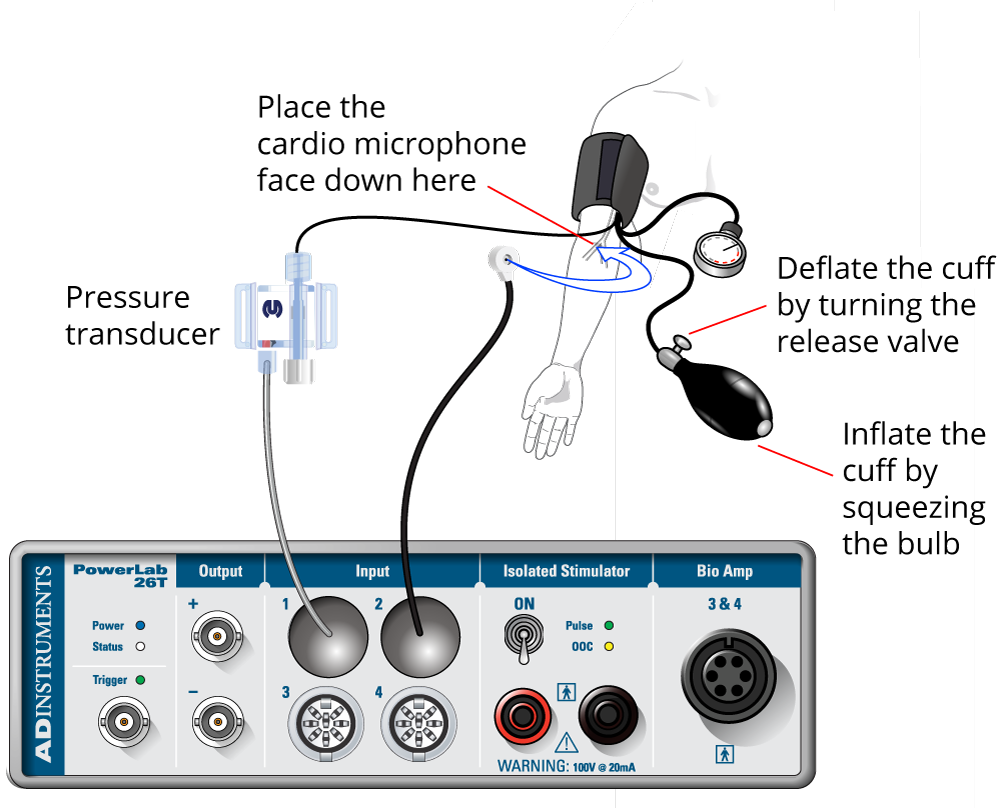
Pressure Transducer
- Connect the pressure transducer to Input 1 on the PowerLab.
- Ensure the pressure transducer is attached to the sphygmomanometer cuff.
- Wrap the sphygmomanometer cuff around the upper arm of your volunteer, just above the elbow.
Cardio Microphone
- Connect the cardio microphone to Input 2.
- Place the cardio microphone over an appropriate artery (e.g. the brachial artery) below the level of the cuff. Use a Velcro strap to hold it in place.
- Ensure the PowerLab is powered on.
Blood pressure measurement procedure
- Leave the blood pressure cuff in place around the upper portion of the volunteer's arm (either arm), between the elbow and the shoulder.
- Place the cardio microphone over the brachial artery. It is best to position this just below the cuff and to hold it in place with a Velcro strap. However, it can also be placed under the blood pressure cuff so that it is held in position by the cuff.
- Select Start.
- Inflate the cuff to 30 mmHg higher than the estimated systolic pressure.
- Slowly reduce the pressure in the cuff (approximately 2–3 mmHg per second or per pulse beat).
- Deflate the cuff completely once the pressure has gone below 50 mmHg or after the disappearance of the Korotkoff sounds.
- Select Stop.
Blood pressure analysis procedure
- Examine your recording. The cardio microphone channel displays the Korotkoff sounds as spikes. These spikes can be used to determine systolic and diastolic pressure.
- Select the data corresponding to the Korotkoff sounds (i.e. from the first spike to the last clear spike in the series).
- The first spike occurs at the systolic pressure. The last spike in the series occurs at the diastolic pressure.
Note: In some people, diastole may not be obvious and you may need to estimate.