

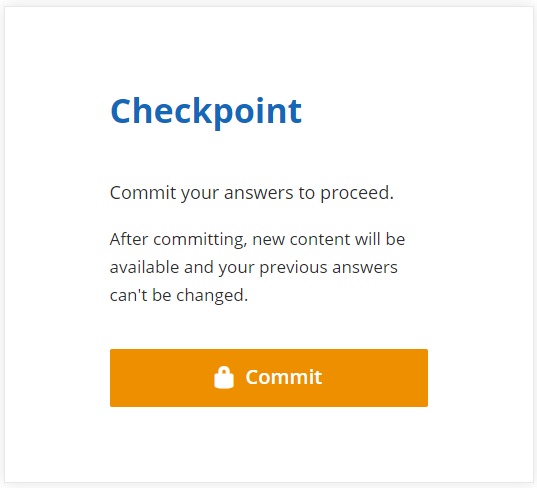
Some Lt lessons include checkpoints. A checkpoint asks you to commit the answers you have entered in the preceding section before continuing to the next part of the lesson.
Before you commit
When you reach a checkpoint, review the preceding pages and check that your answers and any required data are complete. Follow your instructor's directions before selecting Commit.
Committing locks your earlier work. After you commit the checkpoint, you can still view the preceding pages, but you cannot change their answers. Later sections become available for you to work through.
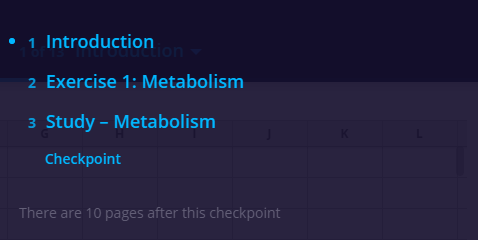
Pages before and after a checkpoint
Before you commit, pages beyond the checkpoint are not yet available. Open the page navigation dropdown to see the pages you can currently visit.
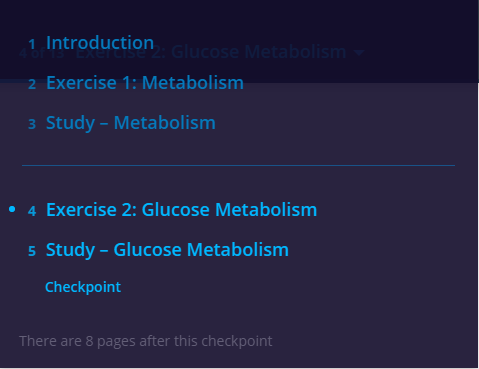
After you commit, you can move between the available pages on either side of that checkpoint. The committed checkpoint no longer appears as a separate page; a divider marks its position in the page menu.
If the lesson contains another checkpoint, you will need to commit that checkpoint before accessing the section beyond it.
If you need help
If you are unsure whether your work is ready, ask your instructor before committing. If you have already committed and need to correct something, contact your instructor for guidance.
For more help, read Navigating an Lt lesson or visit Lt student support.