Positioning panels on the page is as simple as dragging and dropping with the added help of guidelines and column snapping. Lt lets you lay out your content in columns. To create a column just drag a panel to the side until you see a blue line. This will arrange the content into two columns.
When you want to add to an existing column, drag the panel directly to the column where you wish to add it. A blue line will then appear below one column. If the blue line takes up the whole width then the panel will be across both columns. Drag it until the blue line is under only the column you want.

Columns can have different heights. New content can create a new column, be placed into an existing column, or be placed as a page-wide panel above or below your existing columns.
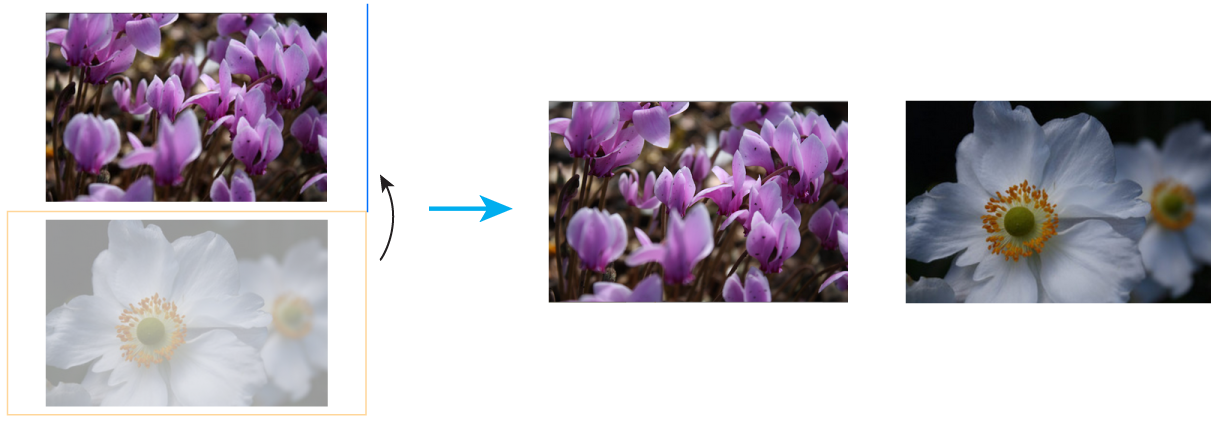
You can resize a column width using the orange handles that appear when a panel is selected. In the example below, note how the amount of whitespace surrounding the image is reduced by adjusting the height of the image panel using the orange handles.
