The Label Image panel is perfect for labeling tasks where objects need to be identified with pinpoint accuracy.
To add a Label Image panel, select PANELS from the footer, and then Questions in the PANELS menu. Finally, drag and drop the Label Image icon into your lesson.
Editing your Label Image panel
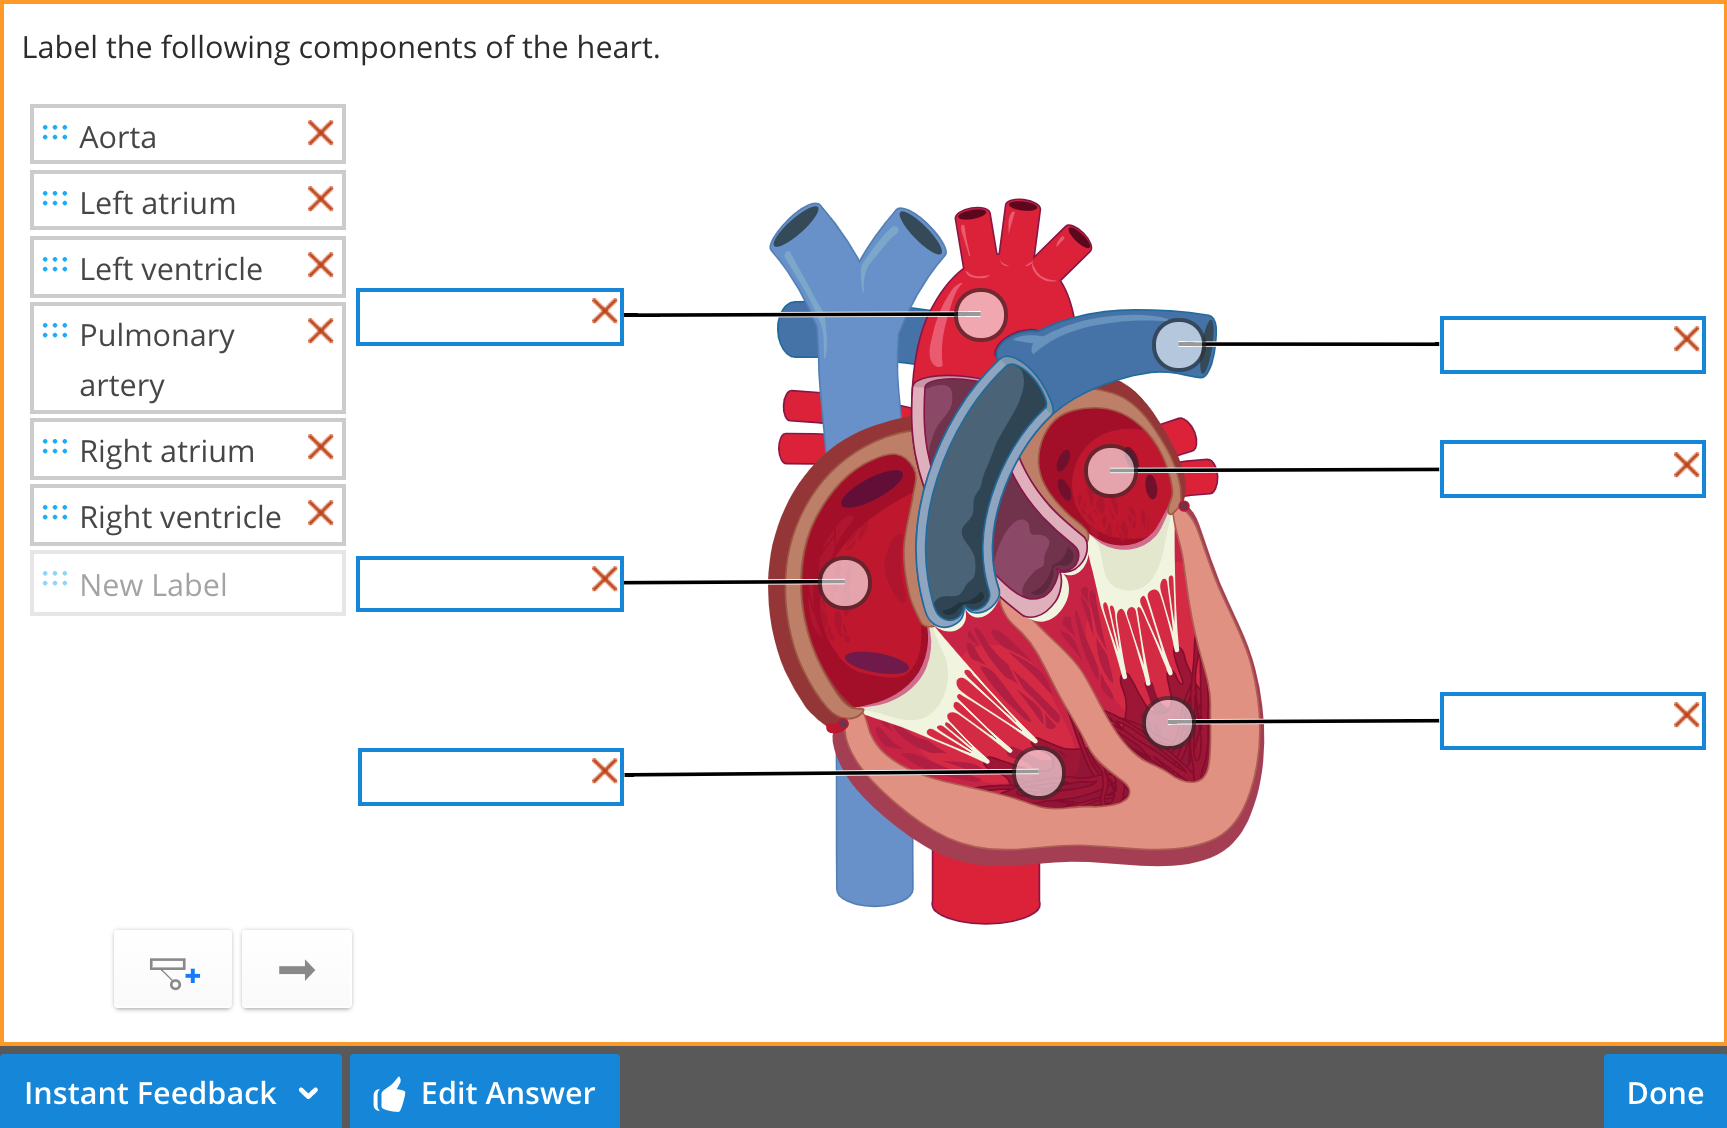
Upload the image you wish to label into the panel. Then, select New Label (or hit Enter on your keyboard) to create labels for your image. Reorder labels by dragging the small blue dots next to the label's name. Select 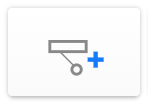 to add locations to your image (where the answers will go). Drag the circle end of the location to place it precisely on the area you wish to identify. Both labels and locations are easily created and deleted, so you can mix and match the numbers of each.
Adding an answer
Before you complete your Label Image panel, be sure to add your answer! Select an assessment type, then Set Answer or Edit Answer, and drag the labels to their appropriate locations. Select OK, followed by Done. A Check Answer button will now be available for students to check their work. You can also try out your question as a student by selecting PREVIEW from the footer.