

The Data Sampling panel allows students to record and analyse physiological signals in real time using PowerLab units and PowerLab Sensors.
To add a Data Sampling panel, select Panels from the footer, then choose Sampling from the Panels menu. Drag and drop the Data Sampling panel onto your lesson page.
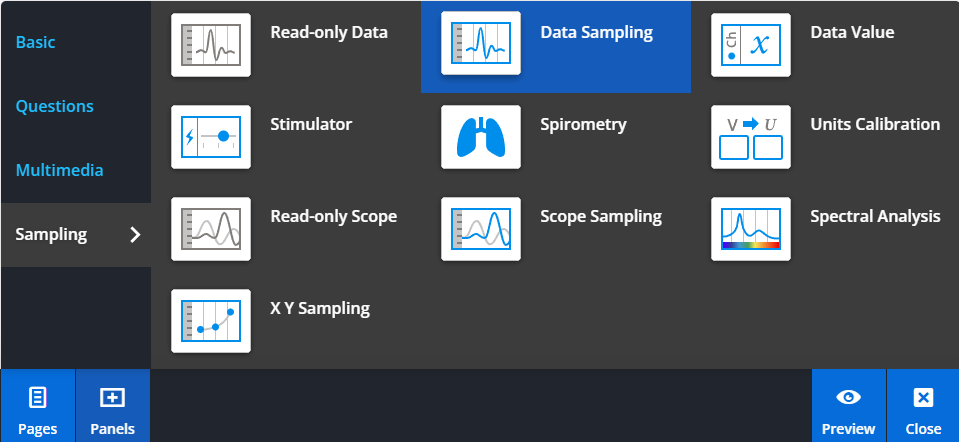
Configuring your Data Sampling panel
To configure the panel, select Edit, then Settings from the panel properties in the footer. Choose a settings file to apply.
You can also drag and drop a settings file (.adiset) onto the lesson page to automatically create a configured Data Sampling panel.
While editing, use the available options to enable channel and time value readouts during sampling.
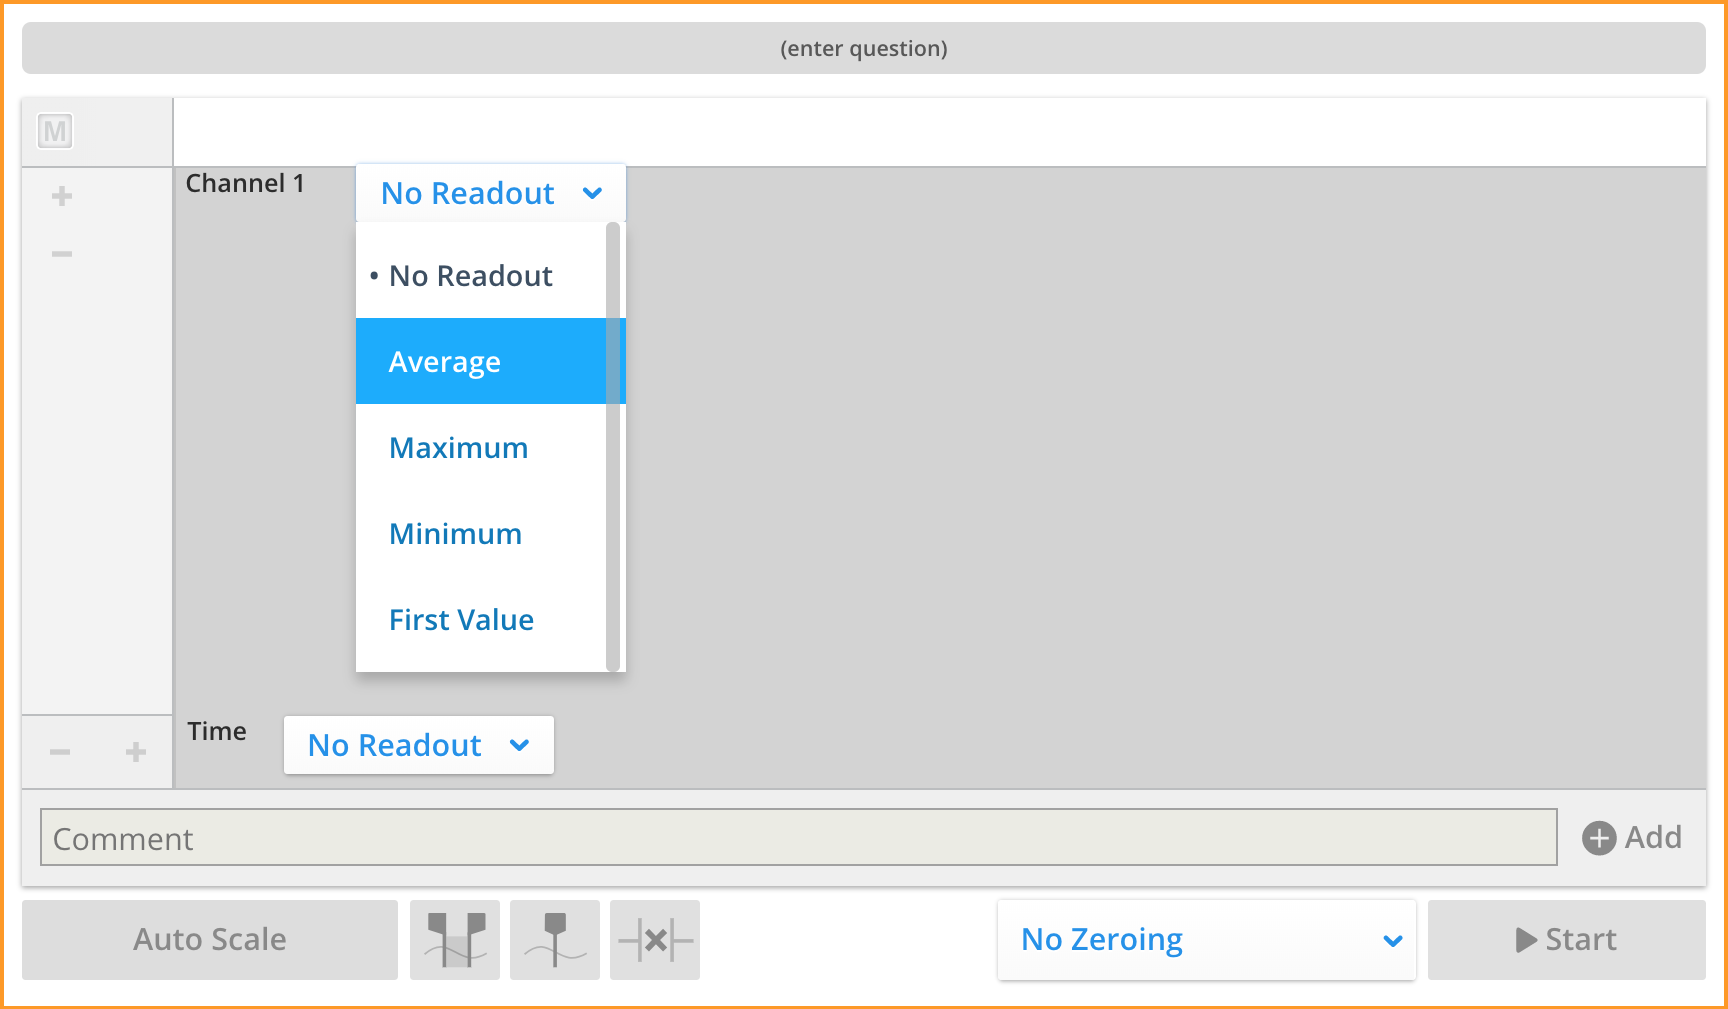
Recording data
To stream data from PowerLab devices, install the kuraCloud Desktop Application (kCDA). Once installed, select Start to begin sampling.
For PowerLab Sensors or macOS, install the Lt Sampling Application.
Adding example data
You can provide students with example data or model answers.
To add example data, select an assessment type, then choose Set Answer and Add Data, or drag and drop a LabChart data file (.adicht) onto the panel.
Students can access this data using the Check Answer button.
Managing access to example data
To control access, set the assessment type to None, then configure access in Course settings > Example Data.
You can choose how students access the data, such as making it always available or requiring an access code. An access code is generated automatically and can be updated at any time.
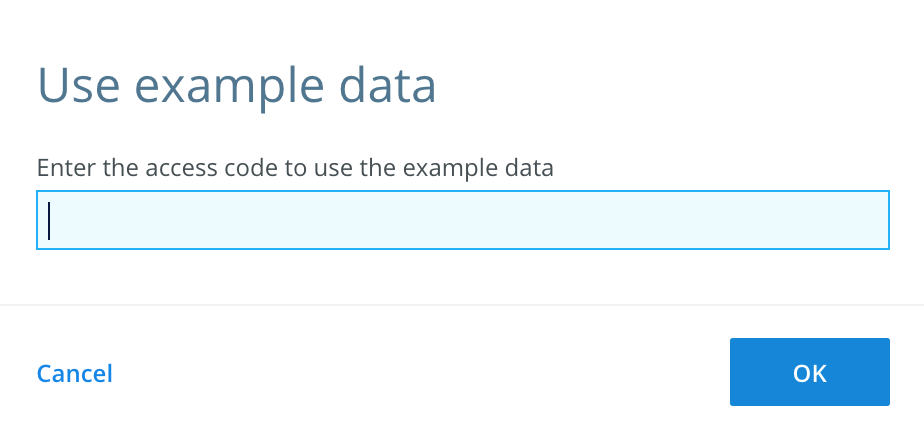
Students can switch between their own data and example data using the Data Source option.