

The Table panel allows authors to display information in a clear, structured format. Table panels are read-only and are ideal for presenting organised data within a lesson.
Note: The Table, Table Question, Spreadsheet, and Spreadsheet Question panels have similar features. For more information on the differences, see Table and Spreadsheet Panels in Lt.
To add a Table panel, select Panels from the footer, then choose Basic from the Panels menu. Drag and drop the Table panel onto your lesson page.
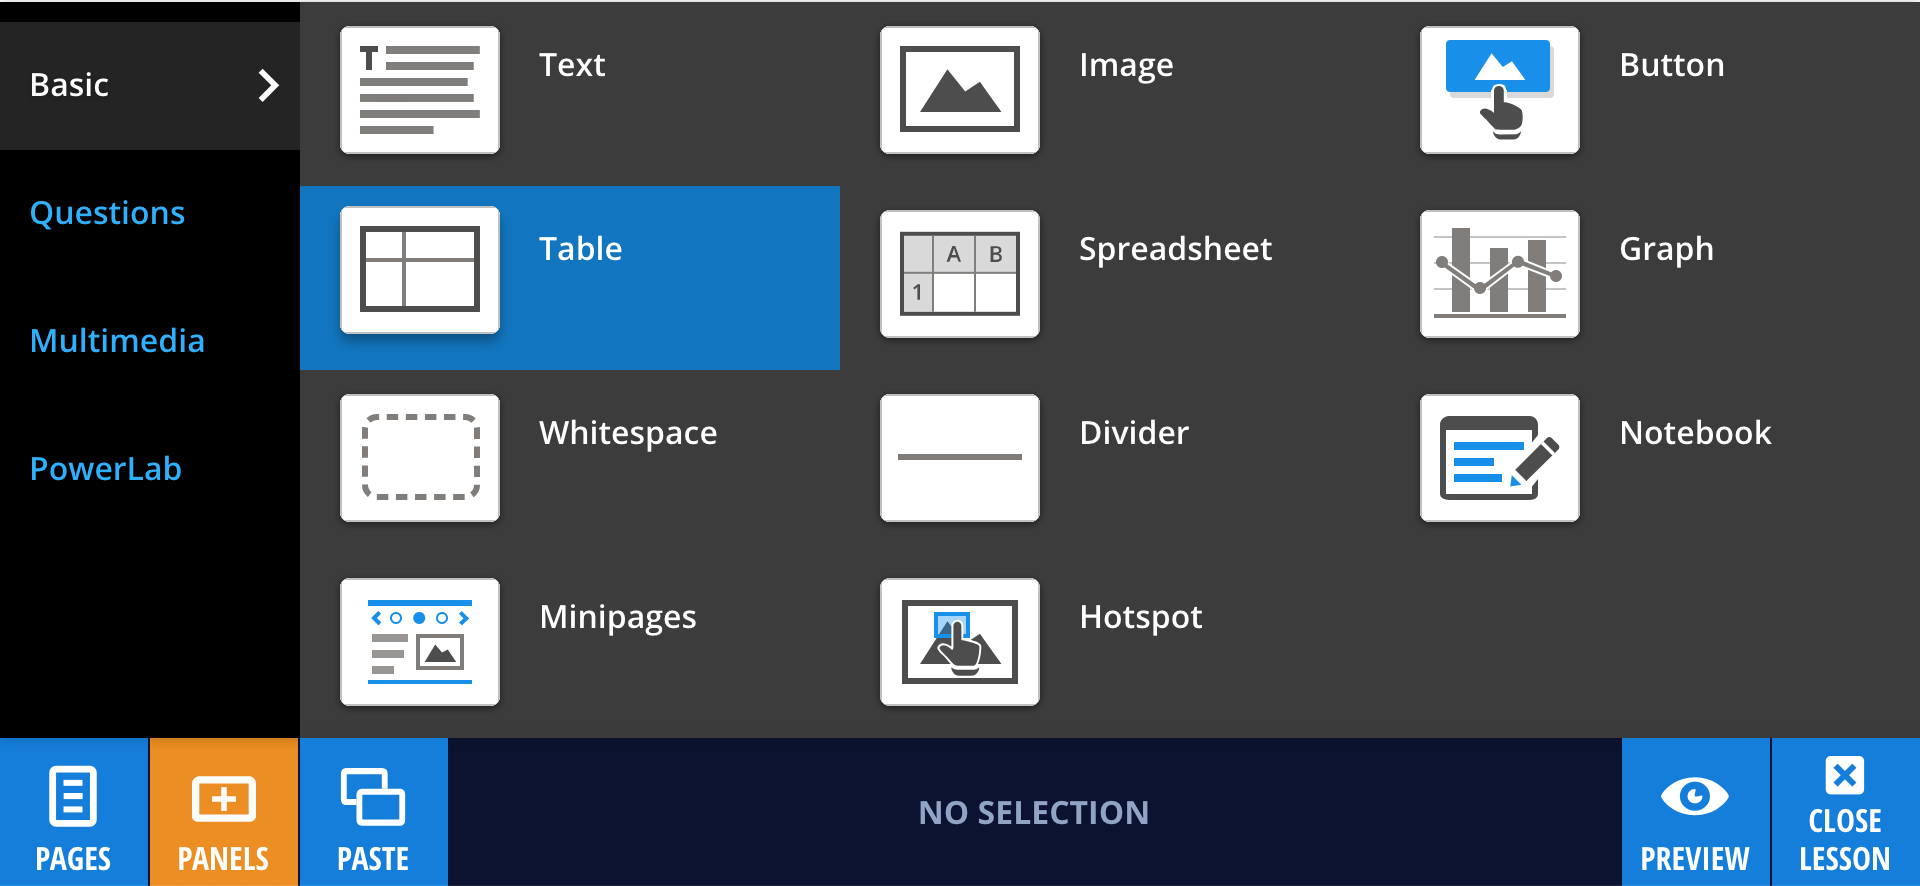
A default table with two rows and two columns will appear. You can customise the number of rows and columns as needed, with support for up to 40 columns.
Editing your Table panel
To customise your table, select Edit. Table editing options will appear below the panel.

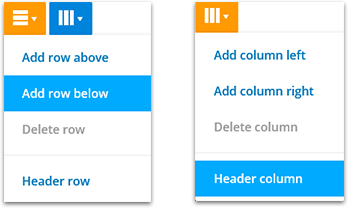
Use the row and column controls to add or delete rows and columns. You can also set a row or column as a header using the dropdown menu. Header text appears bold and blue to distinguish it from standard table content.
To change the colour of a cell, select the paintbrush icon  and choose from the available options: None, Red, Green, Yellow, or Gray. Colour can be used to highlight or organise information.
When you are finished editing, select Done.
If you need a table that students can interact with, use the Table Question panel instead.